
Lunchtime learning - Excel
 |
Do make sure that any tips and suggestions work as you expect them to in your own particular circumstances.
Search other Excel resources (AccountingWeb, Beancounters Guide, IT Counts):
Add
emphasis to your reports
- 2010 update
Introduction
A while ago we looked at using conditional formatting to provide a dynamic highlight for the important figures in a report. This became a lot easier when Excel 2007 dramatically increased both the ease of use, and capability, of conditional formatting. Instead of having to use a condition based on a formula and inserting a special symbol in each cell, Excel 2007 included conditional format 'icons' and the ability to suppress the display of cell contents apart from the icon. This allowed the emphasis column to include references to the figures used to trigger the emphasis. The conditional format is then based directly on the figures with the option to show the icon only selected.
However, if you just wanted to show a single red icon to emphasise rows over the trigger value, then you had to suppress the other icons. In the previous article we did this by including an additional conditional format that set the cell format to white font on a white background for all items less than the trigger, placing this above the main conditional format in the Manage rules list, and setting it to Stop If True. This ensured that the 'icon' format only comes into play for the red icon value rows.
Excel 2010 enhancements
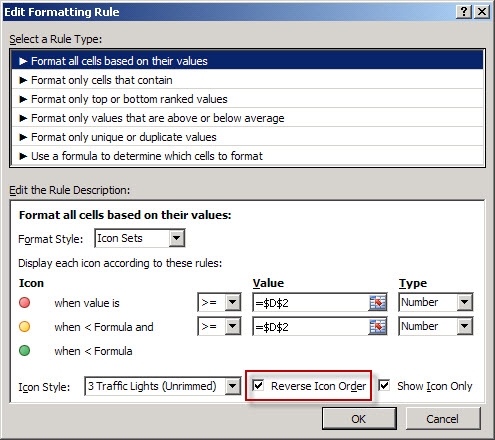
As well as the headline changes in Excel 2010 such as Slicers, Sparklines and PowerPivot, there are also many other less obvious changes hidden away in various features. In conditional formatting additional 'Icon Sets' options simplify the use of a single emphasis icon. For each condition you can separately specify a particular icon, and one of the options is 'No cell icon":

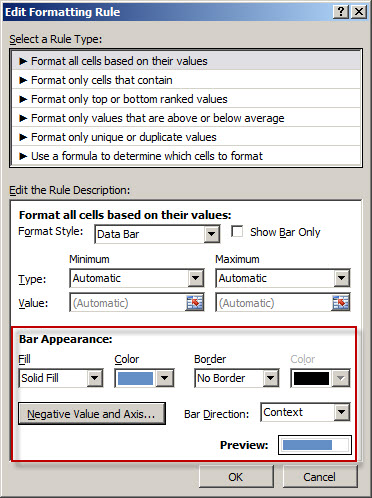
The 'Data bars' Format Style also includes new options in Excel 2010. You can now choose between solid and gradient fill, set the border and fill colour separately, decide on the bar direction and control how negative values are displayed:
Design by Reading Room Ltd 1998