
Lunchtime learning - Excel
 |
Do make sure that any tips and suggestions work as you expect them to in your own particular circumstances.
Search other Office resources (AccountingWeb, Beancounters Guide, IT Counts):
Excel
camera - choosing multiple areas
Introduction
Some time ago we looked at how the Excel camera can be used to assemble areas from different sheets of a workbook into a single printing area: using the Excel camera to assemble a report. This time we will go further and show how to base a set of camera 'pictures' on the choice in a single list box. The technique depends on the following elements and techniques:
-
An Excel camera picture is based on a reference to a block of cells
-
The camera picture reference cannot include a function, but it can be a range name that refers to a formula containing one or more functions
-
The CHOOSE() function can be used to select one of several cell ranges
First we will create three camera pictures and use Data Validation to create a list box with the options 1, 2 and 3.
We will now define a new Range Name called CondCam1 and, rather than referring to a cell, we will refer directly to a formula:
=CHOOSE(ConditionalCamera!$B$1,'Financial accounts'!$I$3:$I$23,'Financial accounts'!$J$3:$J$23,'Financial accounts'!$K$3:$K$23)
Our Data Validation list is set up in cell B1 of the 'ConditionalCamera' sheet and the reference to this cell is the first argument of our CHOOSE() function. This returns number 1, 2 or 3 which is used as the 'index' to which of the next 3 arguments will be used. We enter those three arguments as references to different cell ranges on the sheet 'Financial accounts'.
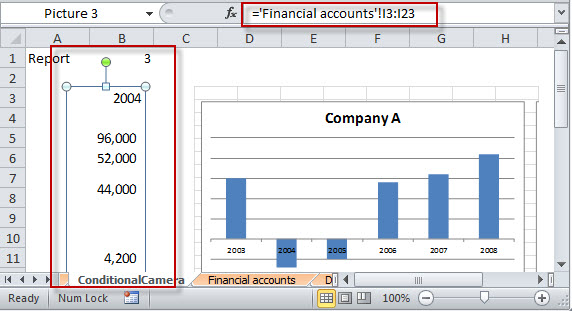
If we click on one of our pictures we can see the original formula in the formula bar:
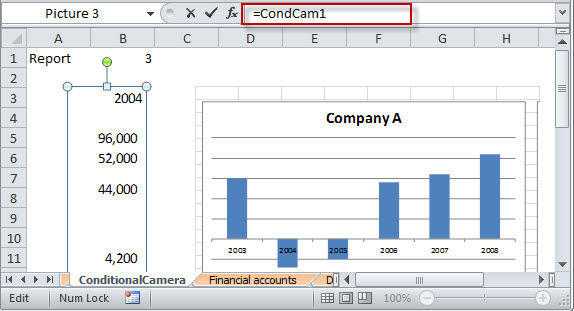
We can just replace the reference to the range with a reference to our Range Name:
We can then repeat the process for the other two camera pictures using the Range Names CondCam2 and CondCam3. Now, when we choose the item from our list box, each of our range names will choose the corresponding block of cells:
Design by Reading Room Ltd 1998